How to Compress Images Without Losing Too Much Quality
ImageRW Guide · Practical image workflow
Image compression is most useful when it removes data that the destination does not need while keeping the details a reader can actually see.
Quick takeaways
- Resize oversized sources before applying strong compression.
- Choose a format that matches the image content and destination.
- Judge the output by both file size and visible quality.
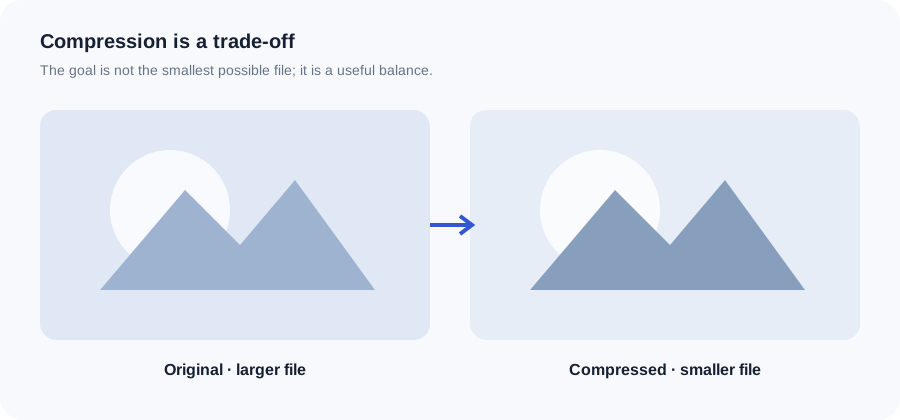
Original ImageRW diagram: How to Compress Images Without Losing Too Much Quality.
Start with pixel dimensions
Before lowering quality, check whether the source is simply too large. A 5000-pixel-wide photograph may contain far more pixels than a page or email needs. Creating a sensible web-sized copy can reduce file size without the visual damage associated with extreme compression.
Choose a format that matches the image
JPG is often practical for photographs, PNG is useful for transparency and crisp graphics, and WebP offers flexible lossy, lossless and transparency options. Format choice and compression setting work together.
Use moderate compression first
Start with a moderate quality setting, inspect the result at its intended display size and only then reduce quality further. Fine text, hair, leaves and other detailed textures can reveal artifacts quickly.
Compare bytes and appearance
A useful test has two measurements: file size and visual acceptability. An image that is 30% smaller but visibly damaged may be a worse result than one that is 15% smaller and still looks clean.
Keep the source
Optimization should produce a derivative. Keep the original so you can create another version for a different page, device or platform later.
Where to use the workflow
The same method applies to blog images, product photos, email attachments, presentation graphics and social images. The target changes, but the decision process stays similar.
A simple before-and-after test
Pick one representative image rather than testing only an easy file. Record its original dimensions and file size, resize it if the destination does not need the full source dimensions, then create a moderately compressed copy. Compare both the byte size and the details that matter at the intended display size. This makes the optimization decision repeatable instead of relying on a quality number alone.
Frequently asked questions
How much should I compress an image?
There is no universal percentage. Choose the smallest file that still meets the needs of its destination.
Should I resize before compressing?
If the image dimensions are much larger than required, resizing first is often sensible.
Why did my compressed file become larger?
The output format or settings may be less efficient for that particular source image.
Image content varies. Test representative files, keep the original and judge the output in the context where people will actually see it.